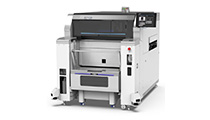
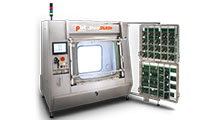
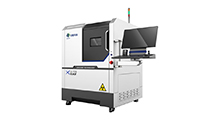
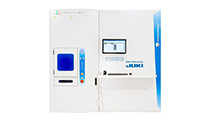
V810i X-Ray Inspection System
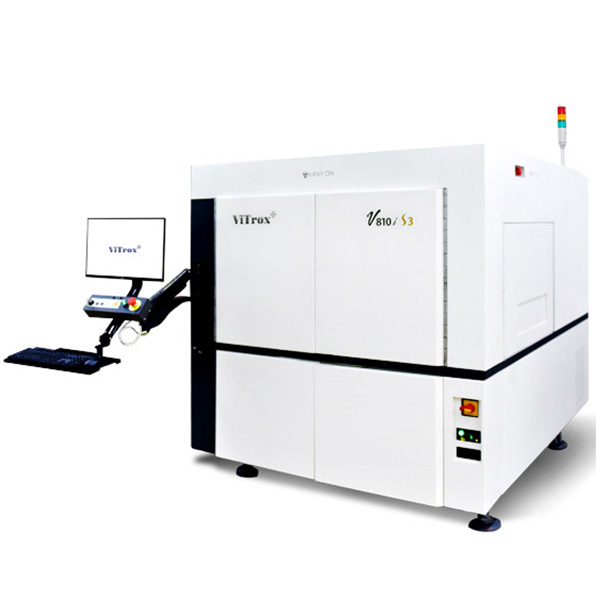
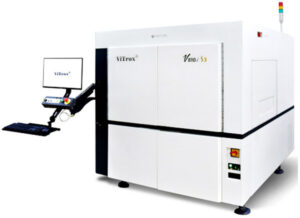
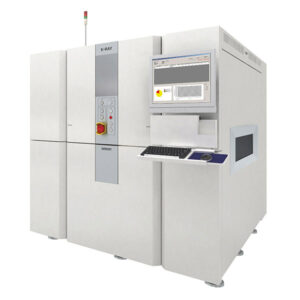
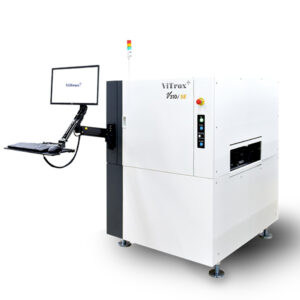
ViTrox has released the new V810i S3 AXI System with a new design outlook together with an ergonomic style.
new design involved system geometry and hardware changes to cater better PCB specifications and improve overall inspection speed.
Lightning programming for smart and easy programming.
World top leading AXI solution.
Worldwide support coverage.
The V810i S3 is also equipped with machine Internet of Things (IoT) solutions and AI integration. With machine IoT, engineers can troubleshoot the systems easily and perform preventive maintenance actions to minimise production downtime. Besides, the AXI is now equipped with a new Phase Shift Profilometry (PSP) that cater new Optical Assist System feature where it is capable to support barcode reading, optical alignment and bad mark detection.
Largest Board Size Platform
V810i X-Ray Inspection System
Minimum and Maximum Panel Size
127mm x 127mm – 1320.8mm x 1320.8mm
Minimum and Maximum Panel Thickness 1.5mm to 10mm
Maximum Panel Weight 25Kg
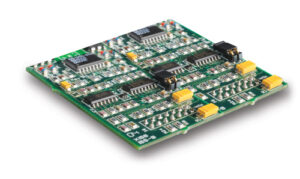
The smart V810i S2XLW AXI solution offers the world-class board inspection capabilities and software compatible with Industry 4.0 for quality-assured inspection results. With its latest capability, the largest and heaviest PCB board weighing up to 25kg and up to 1.3m x 1.3m (length x width) in size can be accommodated and inspected.
The drag and drop concept eases programming and the inline OLP concept minimizes system downtime and increases product throughput.
Breakthrough Technologies
Lightning Programming
What is OLP? OLP means for Offline Programming. It is a software to allow user to develop program on his/her own PC without connecting to machine.

Backdrill Inspection
Back drilling, is a technique used at high speed multi-layered boards to remove the unused portion, or stub, or copper barrel from a thru-hole in a printed circuit board in order to minimize signal integrity degradation and reduce via-to-via crosstalk.
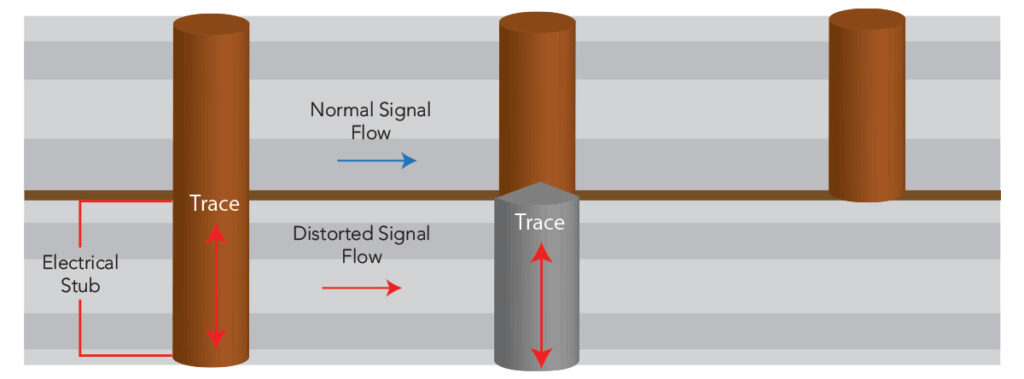
A typical through hole VIA without backdrill results in reflections, capacitance, & inductance discontinuities which will degrade the signal integrity
Backdrill the unused stub with a controlled depth
After backdrill, the signal will not flow to unwanted stub and minimize signal integrity degradation
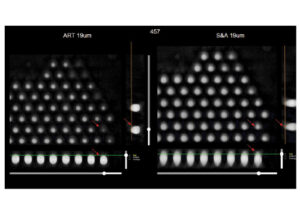
Alternative view (3D model) for defects buyoff
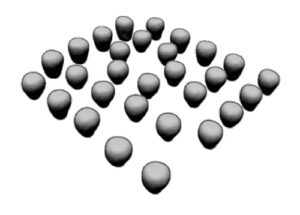
Increase users confident to buyoff defects Defect failure analysis
| Model.No | V810i S3 |
| System controller | Integrated controller with 8 Core Intel Xeon processors |
| Operating system | Windows 10 (64 bits) |
| User interface | Microsoft Windows based software solution with easy-to-use GUI and password-protected user levels |
| Off-line test development software | Optional for off-line PC |
| CAD conversion tool | Support 4 different types of CAD in V810i software and optional software available to translate other CAD data to ViTrox’s format |
| Typical test development time | 4 hours to 1.5 days to convert raw CAD file and develop application |
| Transport heights | 865mm-1025mm |
| Line communication standard | SMEMA, HERMES |
| Barcode readers | Compatible with most industry standard barcode readers |
| Typical image acquisition rate | 51.68cm²/sec (8 in²/sec) at 19µm |
| False Call rate | 500-1000ppm |
| Joint pitch1 | 0.3mm and above |
| Short width2 | 0.045mm |
| Solder thickness | 0.0127mm |
| Power Supplies | 200–240 VAC three phase; 380–415 VAC three phase wye (+/- 5) (50Hz or 60Hz) |
| Air requirement | 552kPA (80psi) compressed air |
| System footprint (Width X Depth X Height) | 1835mmx2185mmx2162mm |
| Total system weight | ~4000kgs |
| Maximum PCB Size (L x W) | 725mmx482.6mm (28.5″x19″) |
| Minimum PCB Size (L x W) | 63.5mmx63.5mm (2.5″x 2.5″) |
| Maximum PCB inspectable area | 725mmx474.9mm (28.5″x18.7″) |
| Maximum PCB thickness | 7mm (276 mils) |
| Minimum PCB thickness | 0.5mm (20 mils) |
| PCB warp | Downside < 3.3mm; Upside < 3.3mm |
| Maximum PCB weight | 4.5kg |
| Top Clearance of PCB | 50mm * 22μm resolution 44mm * 19μm resolution 28mm * 15μm resolution 13mm * 12μm resolution 28mm * 10μm resolution 13mm * 7μm resolution (calculated from board top surface) |
| Bottom Clearance of PCB | 80mm |
| PCB edge clearance | 3mm |
| 100% Press-fit testability | Yes (With PSP2 / PSP2.1 feature) |
| PCB Temperature | 40 Deg C |













Reviews
There are no reviews yet.